Installing Ubuntu
For this tutorial, I will be showing the installation and setup of Ubuntu 20.04 using Virtual Manager, a virtual machine manager on linux that uses libvirt, although this setup process will work real hardware as well.
Prerequisites
- Some bootable medium flased with Ubuntu 20.04LTS or similar.
Step 1
First the computer needs to booted into the installation medium. This is done by pressing a key during the inital boot to
bring up the boot picker. On PC it is the del key. A good method to insure you get the boot picker is to repeatedly
strike the boot menu key on after turing on the PC.
After the system boots, select the boot medium contain the OS. It might be labeled something like Ubuntu, or USB device.
Next select “Boot Ubuntu” and press enter.
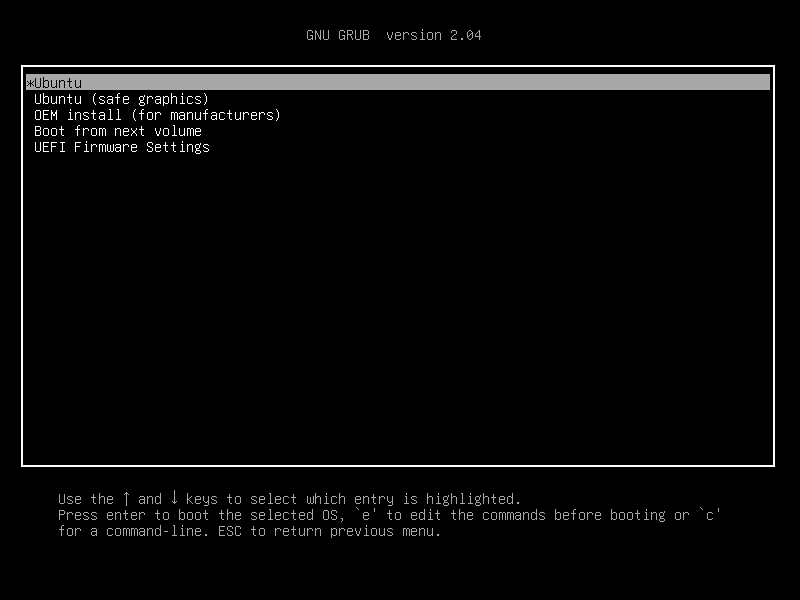
During the boot process, the OS will verify the boot medium is valid, if you want to skip this press ctrl + c when
prompted.
Step 2
Once the live medium has booted, you will be brought to the following screen:
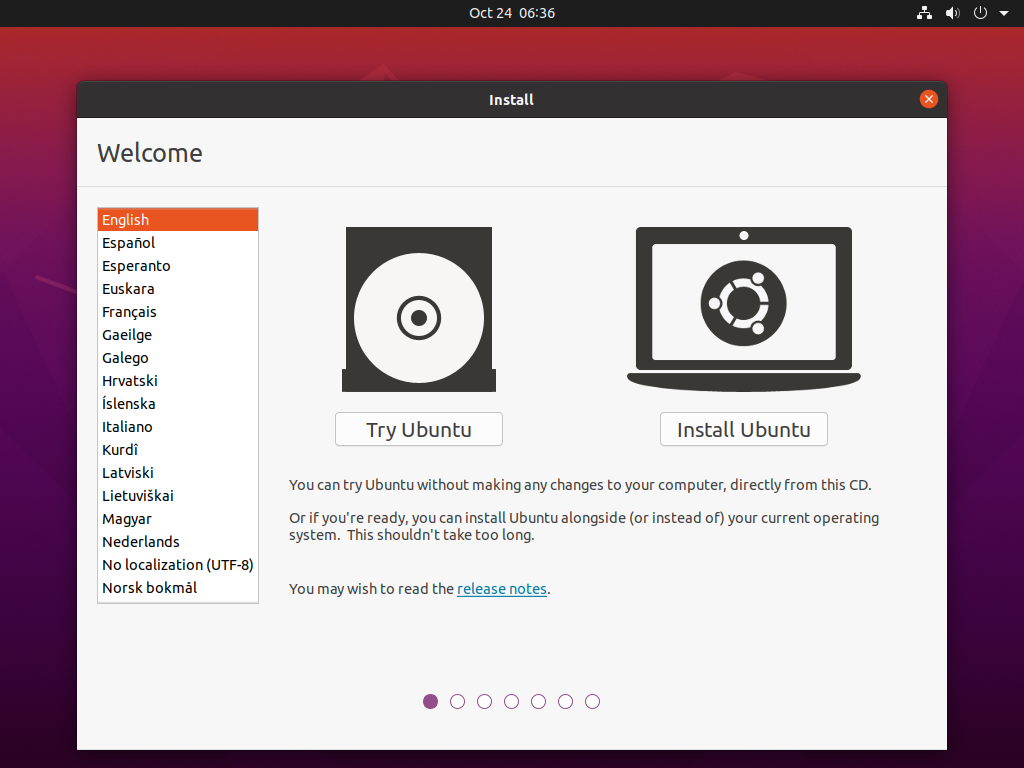
If you want to try ubuntu without installing it you click “Try Ubuntu”. This will take you to an ubuntu desktop, where you can try the OS without making any change to you exiting operating system. For this tutorial though, we want to install ubuntu, so click on “Install Ubuntu”.
Step 3
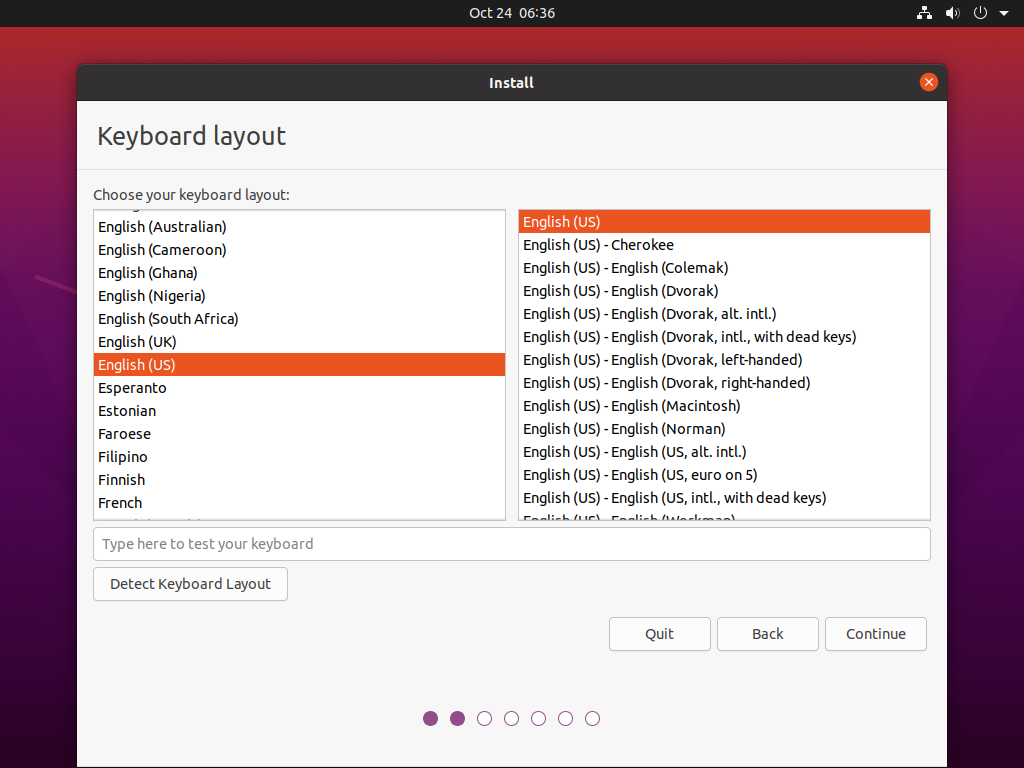
Once the installer has started, you’ll be greeted by the following language prompt.
Step 4
If you already have an internet connection, you may not receive a prompt for this step, if you have ethernet, or like in my case are using a VM, so I don’t have a screenshot of this step, but in any case, you will be asked to select a Wi-Fi network, and enter the password, you can skip this step if you want and setup Wi-Fi if you choose later.
Step 5
The installer will then ask what kind of installation you want.
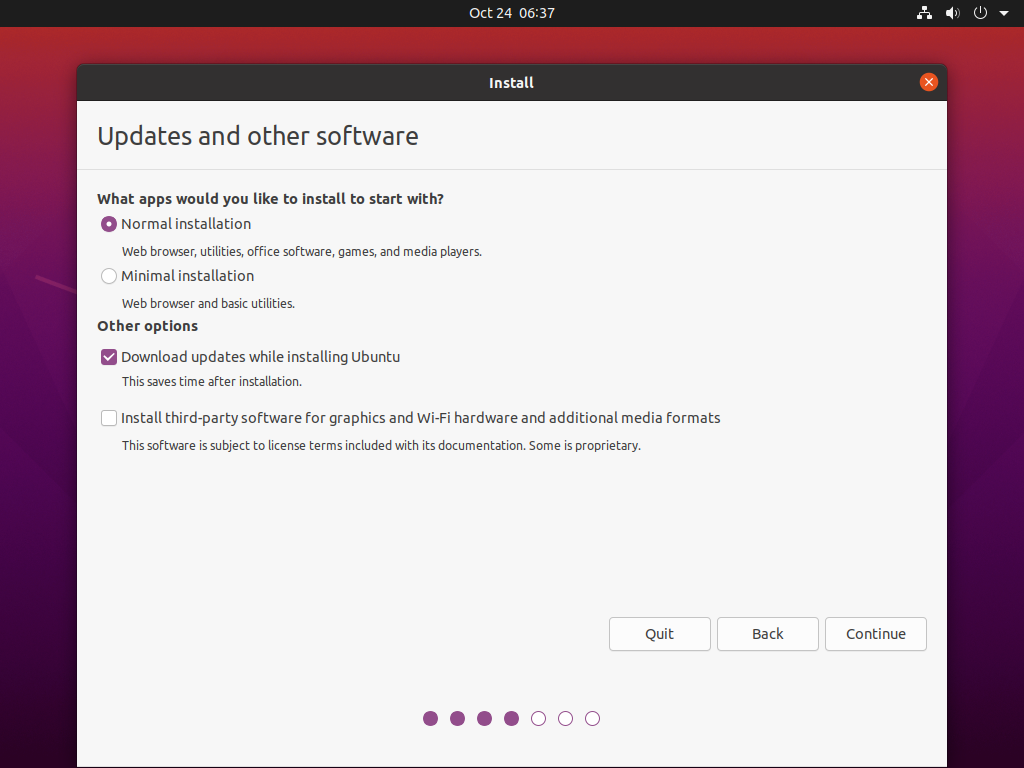
Generally leaving the default selected will work well enough, however, if you want a smaller install, or extra features for hardware like nvidia graphics cards etc., then you might select “Minimal installation” or “Install third-party software for graphics and Wi-Fi hardware and additional media formats” respectively.
Step 6
After selecting a Wi-Fi network, or language if you weren’t asked about networking or skipped it, you then get the option to choose how to partition your disk. This means how you would like your disk to be divided up into different sections called partitions. This is the screen you will be taken to:

For this tutorial, I will be using the entire disk, because this is in a VM, but if you want to install Ubuntu alongside Windows, so that you can play Windows games or use office apps etc., then you will want to choose a different option.
Once you have chosen how to partition you disk, click continue. Before changing you disk, it will prompt you to make sure that this is what you want to do.
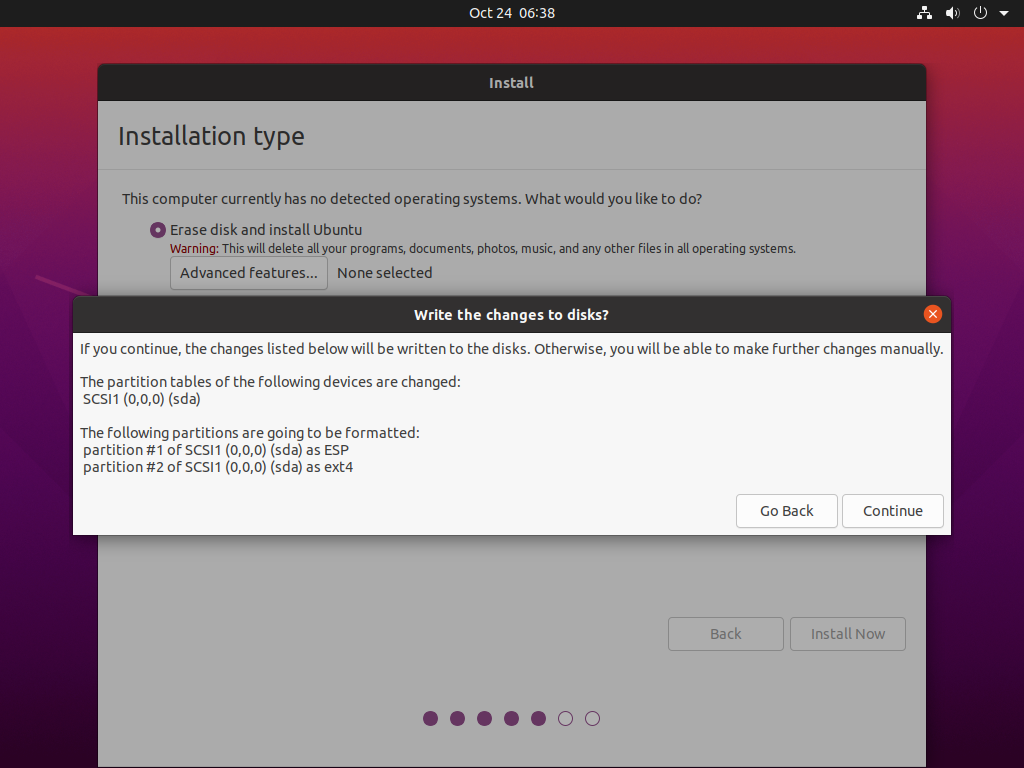
Revive that changes listed, as once you click continue, there is no going back.
Step 7
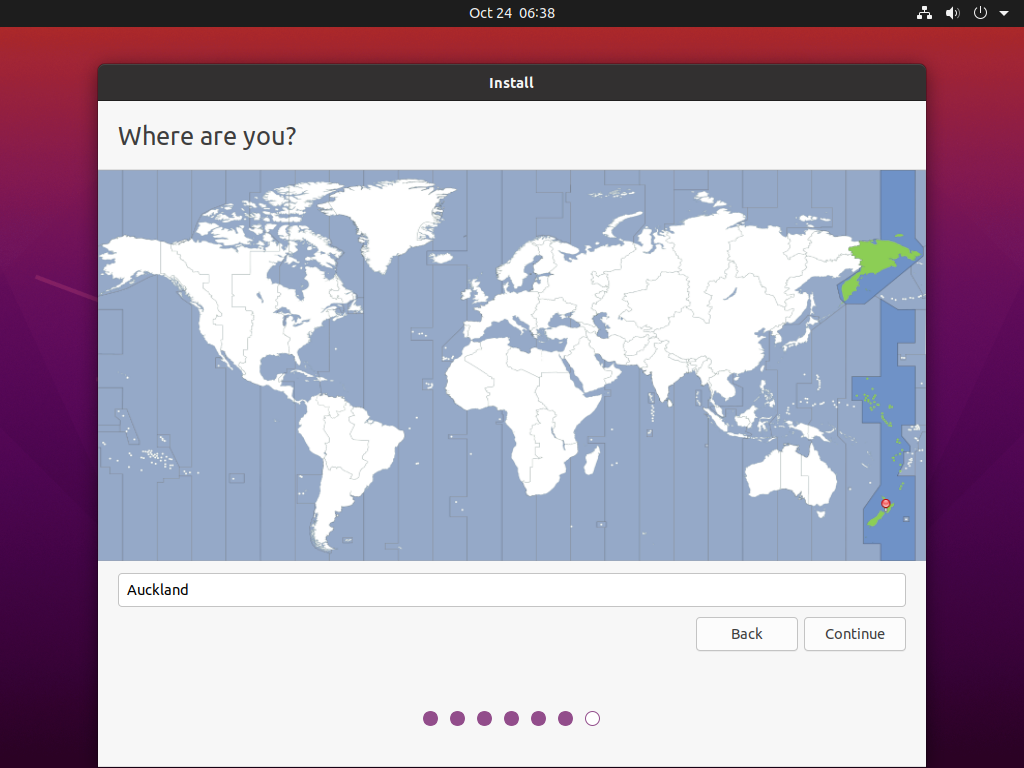
Once the disk has been partitioned, you will be asked about where you are, this will present you with a map for you to select your time zone. Generally the installer will know where you are and set the time zone accordingly, though if its wrong, you can change it.
Step 8
The last step before installing the operating system is to enter some user account information.

This includes thing like your name, the name that you want to give the computer, an account username, and a password.
The account username is used by the system to identify you user, and can not contain spaces amongst other things. The computer name is your computers’ hostname, this is just an identifier for your computer.
Finally, there are options for logging in automatically or requiring a password to login. There is also the option to use Active Directory. Don’t worry about this box if you don’t know what it is. It is generally used in an enterprise/commercial setting where people have to be able to login at different computers with the same username and password, and have setting sync across computers etc.
Step 9
After creating a user, you will see the following screen, indicating that the OS is installing itself.
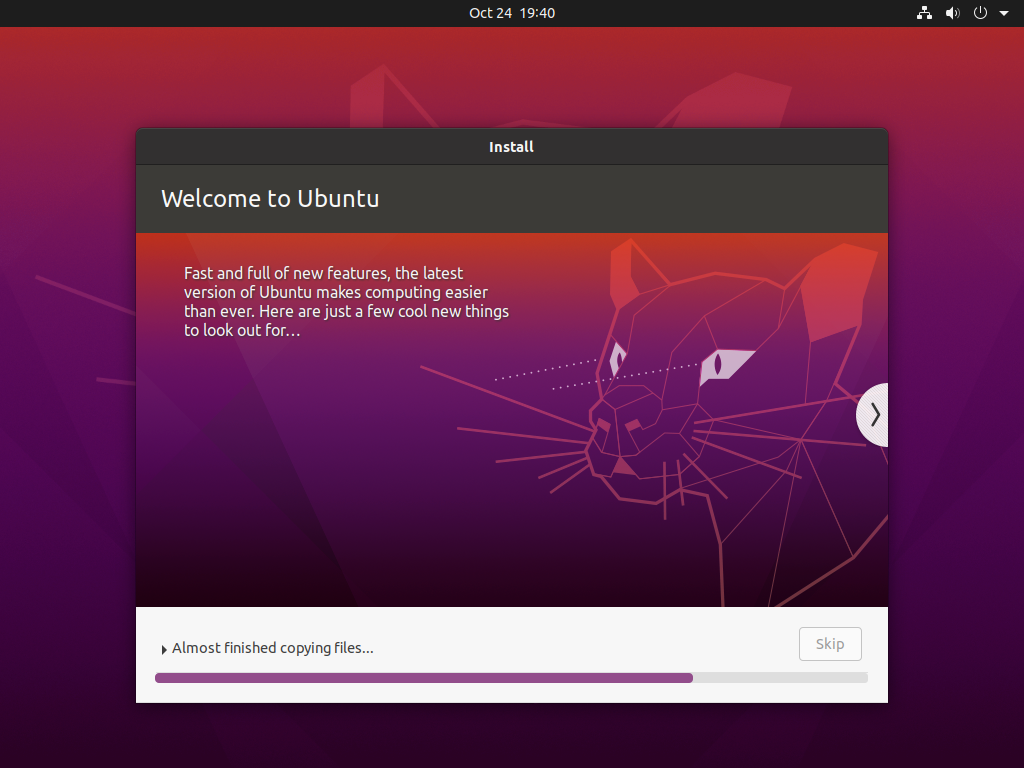
Wait for the operating system to finnish installing itself, following which you will then be prompted to boot reboot the computer.
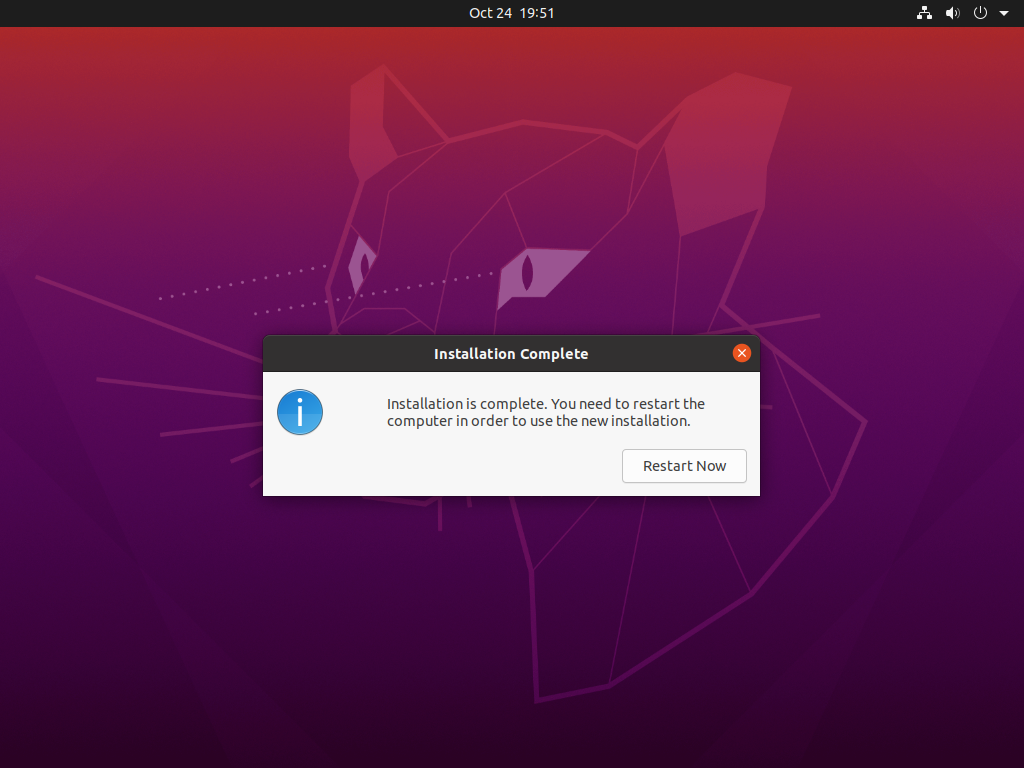
The computer will the reboot itself. When prompted, remove the USB or what ever installation medium you used and press enter to continue.
Step 10
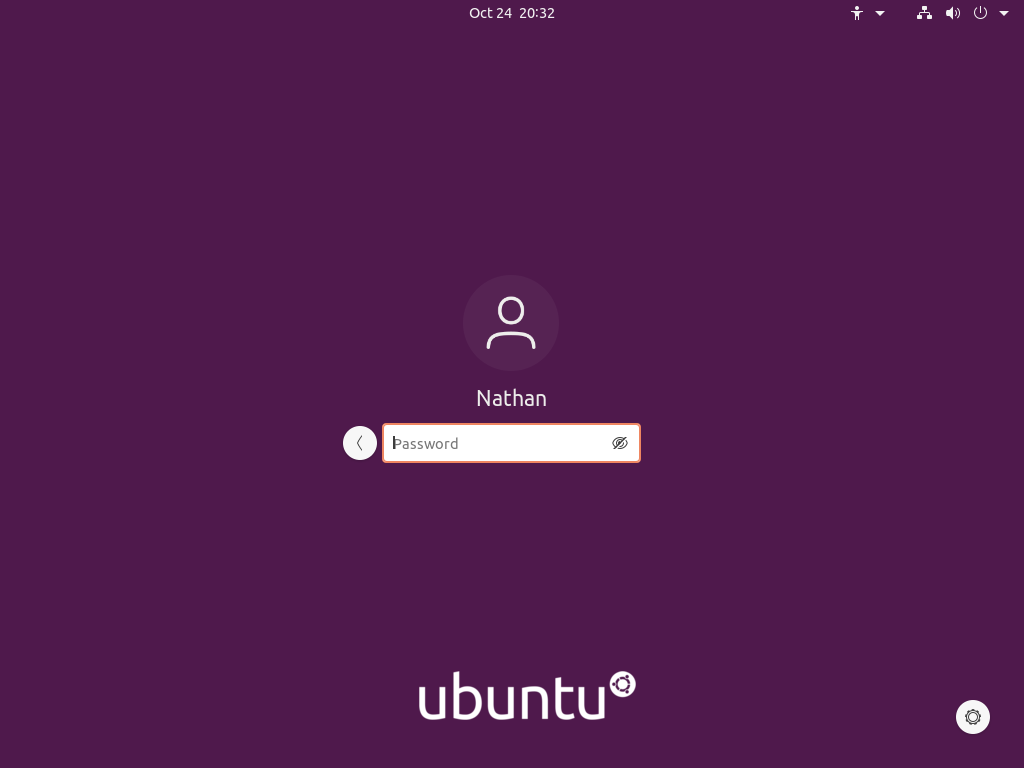
Once the computer has installed itself, you should be brought to the following screen.

Select you your user then put in the password
Once you have entered your password, you will be brought to the ubuntu desktop, where you will be presented with a welcome prompt.
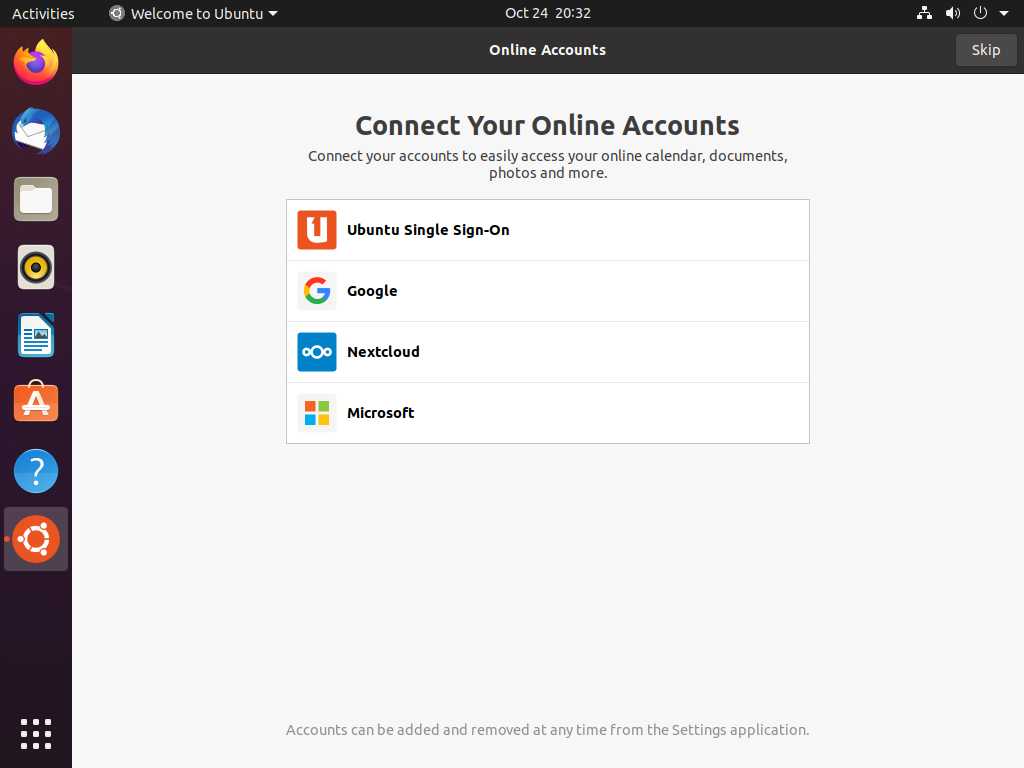
You can close this if you want, or follow through with if you want.
Conclusion
After following all of these step, you should be setup with a fully functional setup for Ubuntu 20.04